Crafting Car Decals with Cricut
Personalized expression, car decals stand out as a popular choice for adding flair and individuality to your vehicles.
Whether you’re looking to showcase your favorite quotes, display your brand, or simply enhance the aesthetics of your ride, creating car decals with your Cricut opens up a world of creative possibilities.
Disclosure: This post contains affiliate links. I receive a small commission at no cost to you when you make a purchase using my links. As an Amazon Associate, I earn from qualifying purchases.
Learn the intricacies of making car decals with your Cricut, providing you with step-by-step instructions, expert tips, and creative inspiration to help you master this art form.
Understanding the Basics of Cricut for Decal Making
Before diving into the specifics of car decal creation, it’s essential to familiarize yourself with the tools of the trade. Cricut machines are versatile cutting devices that enable precision cutting of various materials, including vinyl, paper, and fabric. To embark on your decal-making journey, you’ll need a Cricut machine, compatible software (such as Cricut Design Space), adhesive vinyl , transfer tape, and essential tools like weeding tools and a scraper.
Step-by-Step Guide to Making Car Decals with Cricut
Designing Your Decal
The first step in creating a car decal is designing your artwork. Whether you’re crafting a custom logo, a witty phrase, or an intricate design, Cricut Design Space offers a user-friendly platform for bringing your vision to life. Utilize its array of features, including text tools, shapes, and images, to design a decal that reflects your unique style.
Selecting the Right Vinyl
Choosing the appropriate vinyl is crucial for ensuring the longevity and quality of your car decal. Opt for premium adhesive vinyl that is specifically designed for outdoor use, as it offers durability and weather resistance. Consider factors such as color, finish (matte or glossy), and thickness to achieve the desired look and functionality.
Cutting Your Decal
Once your design is ready, it’s time to cut your vinyl decal using your Cricut machine. Load the vinyl onto the cutting mat, adjust the settings in Cricut Design Space according to the type of vinyl you’re using, and let the machine work its magic. Ensure precision by double-checking your settings and performing a test cut if necessary.
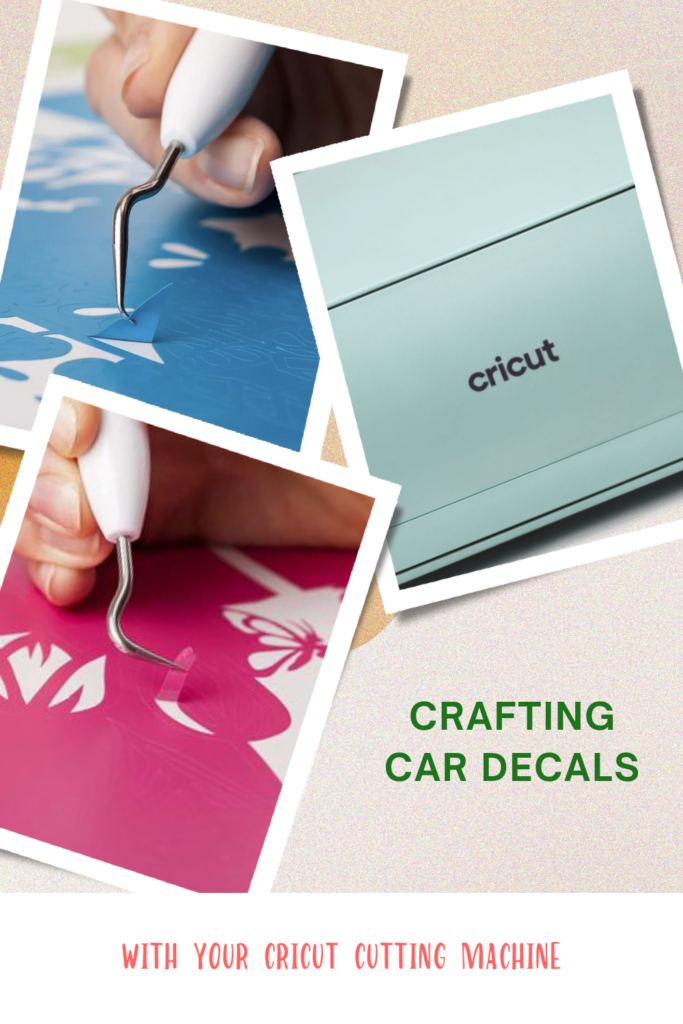
Weeding and Transfer
After the cutting process is complete, carefully weed away the excess vinyl using a weeding tool, leaving only your desired design on the backing sheet.
Next, apply transfer tape over the decal, using a scraper to ensure adhesion. Gently peel off the backing sheet, leaving the decal adhered to the transfer tape.
Applying the Decal to Your Car
With your decal now on the transfer tape, it’s time to apply it to your vehicle. Clean the surface thoroughly to remove any dirt or debris, then position the decal carefully using guidelines or measurements for alignment. Once in place, press down firmly with a scraper to secure the vinyl to the surface, then slowly peel away the transfer tape, leaving behind your custom car decal.
Tips for Success
- Choose Quality Materials: Invest in high-quality vinyl and tools for optimal results.
- Practice Patience: Take your time during each step to ensure precision and avoid mistakes.
- Experiment and Innovate: Don’t be afraid to explore different designs, techniques, and vinyl types to discover what works best for you.
- Protect Your Decal: Consider applying a clear coat or protective sealant over your car decal to prolong its lifespan and enhance its durability.
Get Creative with Cricut Car Decals
The beauty of creating car decals with Cricut lies in its endless possibilities for creativity.
Whether you’re a seasoned crafter or a novice enthusiast, the ability to design and produce custom decals offers a satisfying outlet for self-expression and customization.
From showcasing your personality to promoting your business, Cricut empowers you to turn your ideas into tangible works of art that make a statement on the road.
Making car decals with Cricut is a rewarding and accessible endeavor that allows you to unleash your creativity and personalize your vehicle with ease.
By following our comprehensive guide and incorporating our expert tips, you’ll be well-equipped to embark on your decal-making journey with confidence and success.
So, gather your supplies, fire up your Cricut machine, and let your imagination run wild as you bring your vision to life, one car decal at a time.


