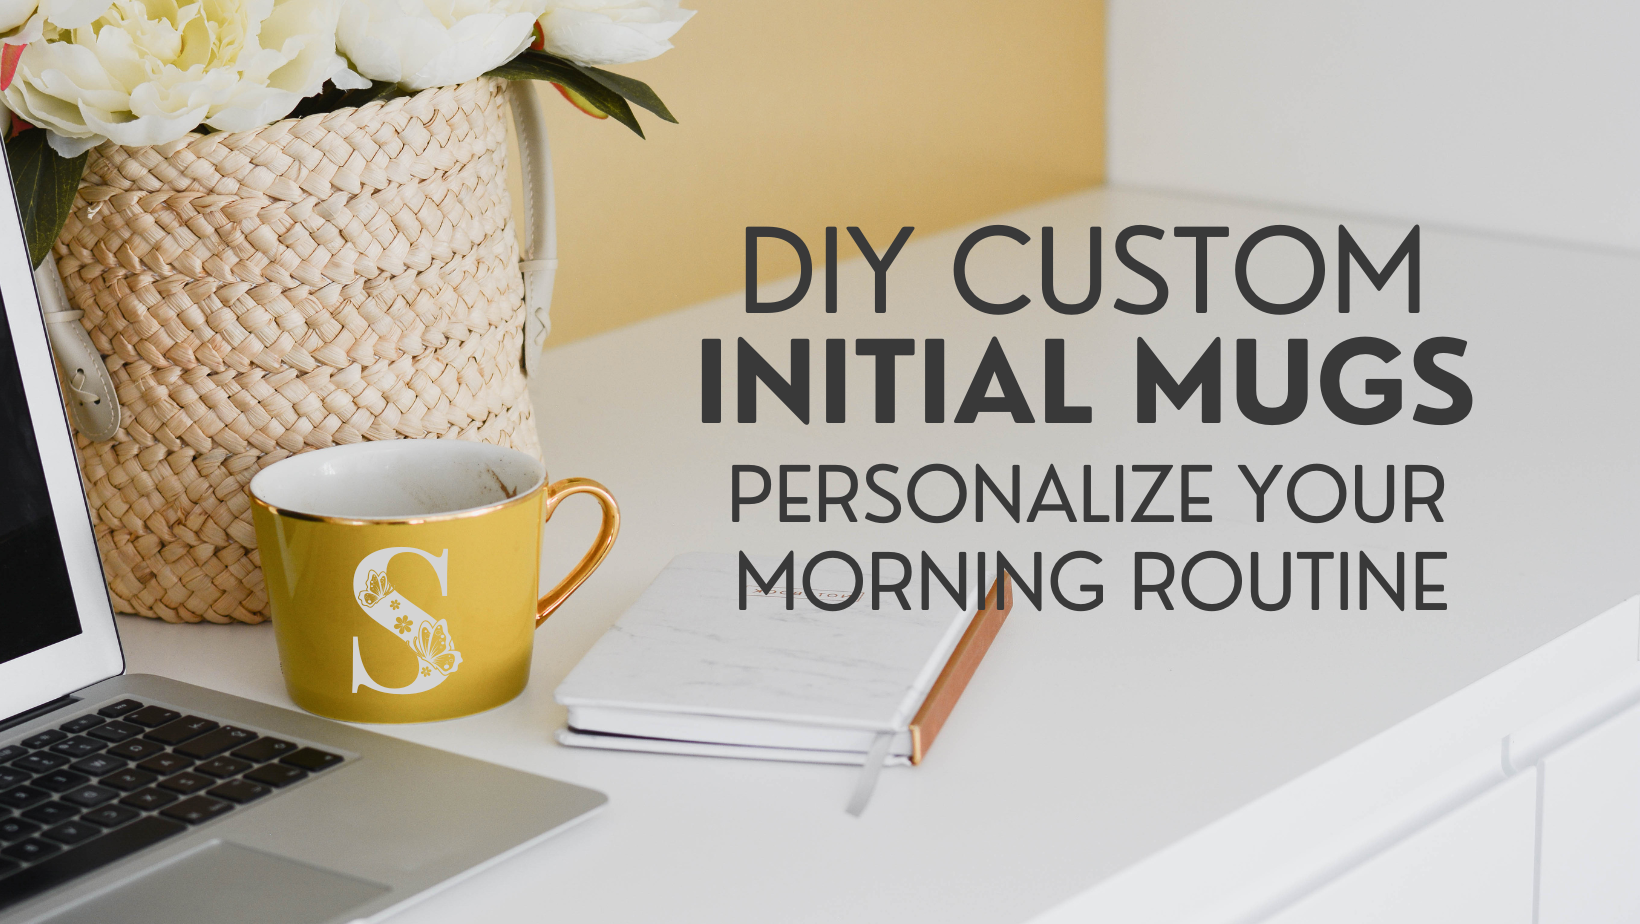
Learn how to create personalized DIY mugs with initials using the innovative Cricut Mug Press.
If you’re looking to add a touch of creativity and uniqueness to your daily coffee or tea routine, you’ve come to the right place.
We will walk you through the step-by-step process of designing and crafting your own custom initial mugs, ensuring that your morning beverage is served in style.
Personalized mugs have become more than just ordinary drinkware; they’re a reflection of your personality and style.
Adding your own initials to your favorite mug not only makes it uniquely yours but also adds a sense of ownership to your morning routine.
Whether you’re a seasoned crafter or new to the world of DIY projects, our guide will assist you in creating a personalized mug that stands out.
What You'll Need
Before you embark on your creative journey, it’s essential to gather all the necessary materials. Here’s a list of items you’ll need:
Cricut Mug Press: This cutting-edge device ensures a professional finish to your personalized mug.
Blank Mugs: Choose high-quality mugs in your preferred color, shape, and size.
Vinyl Sheets: Opt for vinyl sheets in colors that resonate with your style and preferences.
Cricut Machine: This precision cutting tool will help you create intricate designs for your initials.
Weeding Tools: Essential for removing excess vinyl and achieving clean lines in your design.
Heat-Resistant Tape: To secure the vinyl onto the mug before pressing. Love this dispenser for the heat resistant tape.
Designing Your Initials
Using your Cricut design software, create a personalized monogram or design featuring your initials. You can experiment with fonts, sizes, and styles to achieve the desired look.
Cutting the Vinyl
Load the chosen vinyl sheet onto your Cricut machine and proceed to cut the design. The precision of the Cricut machine ensures intricate details are accurately captured.
Weeding the Design
Carefully weed the excess vinyl using appropriate weeding tools. This step is crucial to achieving a clean and polished final result.
Applying the Vinyl
Place the weeded vinyl design onto the blank mug. Use heat-resistant tape to secure the vinyl in place, ensuring it aligns perfectly.
Using the Cricut Mug Press
Follow the manufacturer’s instructions to preheat the Cricut Mug Press. Once heated, carefully place the mug inside the press, ensuring the vinyl design faces outward.
Pressing the Mug
Close the Cricut Mug Press and allow it to work its magic. The device’s precise temperature and timing settings will transfer the vinyl design onto the mug seamlessly.
Final Touches
After the pressing cycle is complete, carefully remove the mug from the press and let it cool. Once cooled, gently peel off the transfer sheet, revealing your beautifully personalized initial mug.
Benefits of DIY Initial Mugs
Crafting your own personalized initial mugs offers a range of benefits:
Customization: Express your unique style by designing mugs that resonate with your personality.
Gifting: Personalized mugs make thoughtful and cherished gifts for friends and loved ones.
Creativity: Experiment with various designs, colors, and styles to create one-of-a-kind mugs.
We’ve walked you through the process of creating stunning DIY mugs with initials using the Cricut Mug Press. Personalizing your morning routine has never been easier or more enjoyable.
Now, it’s your turn to unleash your creativity and craft mugs that truly stand out. Elevate your coffee or tea experience with personalized initial mugs and make each sip a delightful moment of self-expression.


