Expert Tips for Using Cricut Infusible Ink
When crafting, innovation is key, and Cricut Infusible Ink stands out as a revolutionary tool that empowers creators to elevate their craft projects to new heights.
With its seamless integration and vibrant results, mastering the art of Cricut Infusible Ink opens up a world of possibilities for crafters of all levels.
Disclosure: This post contains affiliate links. I receive a small commission at no cost to you when you make a purchase using my links. As an Amazon Associate, I earn from qualifying purchases.


Understanding Cricut Infusible Ink
What is Cricut Infusible Ink?
Cricut Infusible Ink is a cutting-edge technology that allows users to create professional-quality, permanent heat transfers on a variety of surfaces.
Unlike traditional heat transfer vinyl, which sits on top of the material, Infusible Ink actually becomes one with the base material, resulting in stunningly vibrant and durable designs.
How Does it Work?
The magic of Cricut Infusible Ink lies in its unique formulation. When subjected to heat and pressure, the ink particles sublimate, turning into a gas and infusing themselves directly into the fibers of the material.
This process ensures that the design is not only incredibly vivid but also completely seamless and long-lasting.
Getting Started with Cricut Infusible Ink
Materials Needed
Before diving into your Cricut Infusible Ink project, it’s essential to gather the necessary materials:
- Cricut cutting machine
- Infusible Ink transfer sheets or pens
- Compatible blank materials (such as T-shirts, coasters, or tote bags)
- Heat-resistant tape
- Butcher paper
- Heat press
- Lint Roller
Step-by-Step Instructions
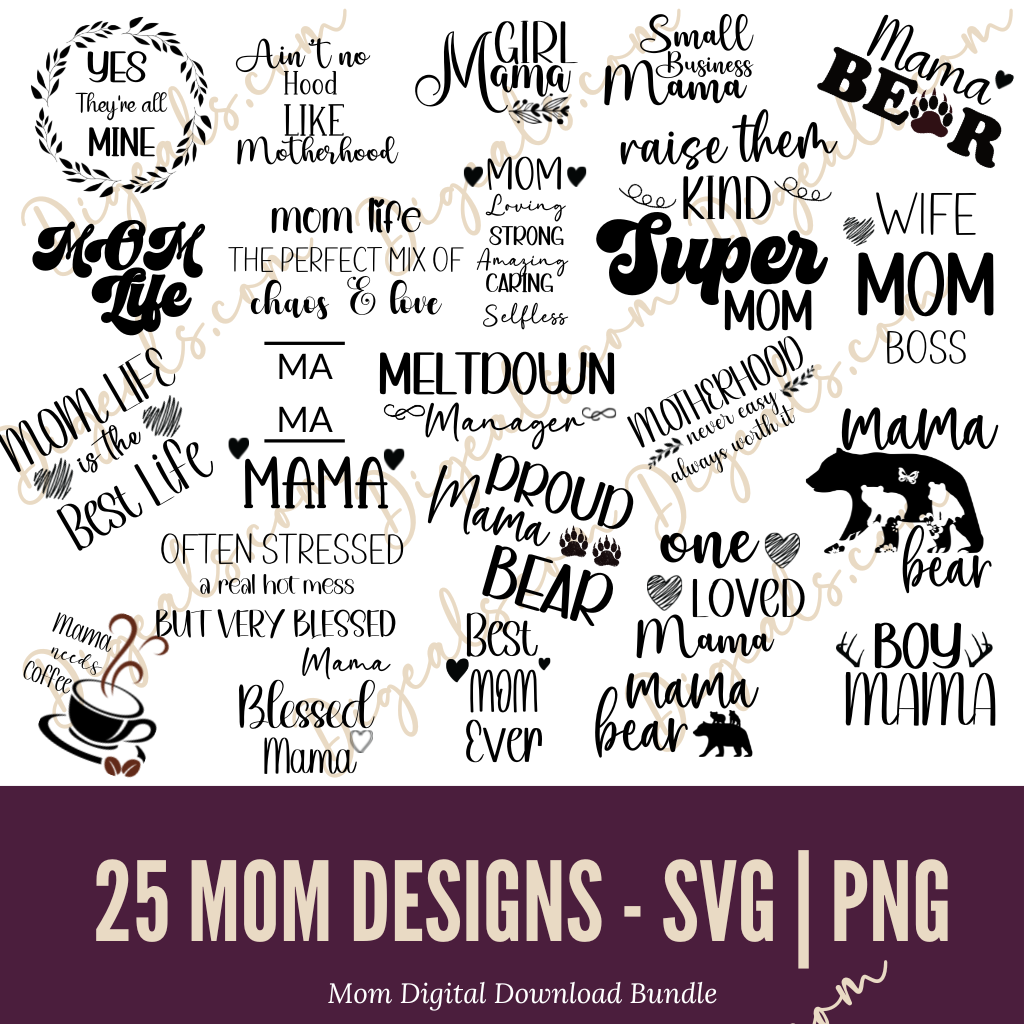
Design Creation: Start by creating or selecting a design. You can also view our designs.
Cutting: Use your Cricut cutting machine to cut the design onto the Infusible Ink transfer sheet or draw it directly onto the material using Infusible Ink pens.
Preparation: Place a sheet of butcher paper on your work surface to protect it from any ink bleed-through.
Application: Position your Infusible Ink transfer or design on the blank material, securing it in place with heat-resistant tape.
Pressing: Set your heat press to the recommended temperature and time settings for the specific material you’re using. Then, apply firm pressure to transfer the design onto the material.
Peeling: Once the pressing is complete, carefully peel away the transfer sheet to reveal your vibrant, seamless design.
Tips for Success
Use compatible materials: Ensure that you’re using materials specifically designed for use with Cricut Infusible Ink to achieve optimal results.
Test your settings: Before committing to your final craft project, it’s always a good idea to perform a test run on a small piece of material to fine-tune your temperature and pressure settings.
Work in a well-ventilated area: The sublimation process releases gases, so it’s important to work in a well-ventilated space to avoid inhaling any fumes.
Handle with care: Once your design is transferred, handle the material with care to preserve its longevity and vibrancy.
Mastering the art of Cricut Infusible Ink opens up a world of endless creativity and possibilities. By following the steps outlined above and incorporating our tips for success, you’ll be well on your way to creating stunning, professional-quality projects that are sure to impress. Happy Crafting!


