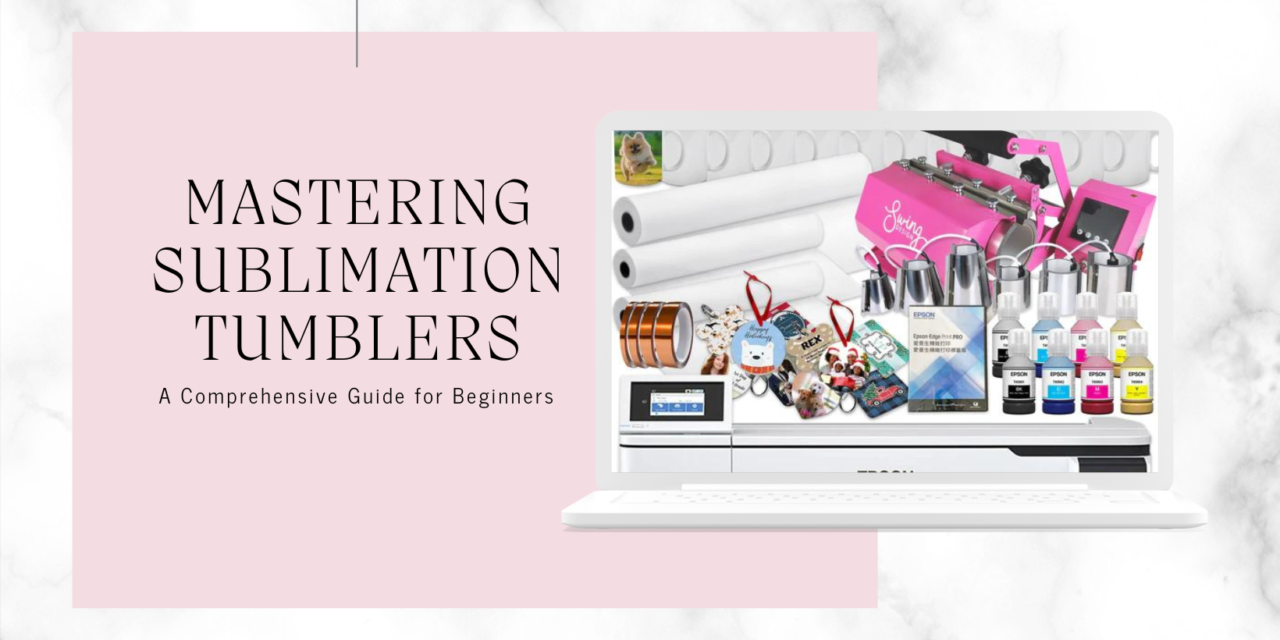
We understand the importance of providing you with comprehensive information to help you succeed in the world of sublimation.
Whether you’re a novice or have some experience, this guide will equip you with the knowledge and skills needed to create stunning sublimation tumblers that stand out.
Disclosure: This post contains affiliate links. I receive a small commission at no cost to you when you make a purchase using my links. As an Amazon Associate, I earn from qualifying purchases.
What Are Sublimation Tumblers?
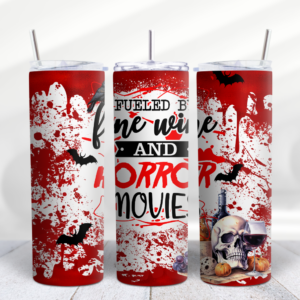
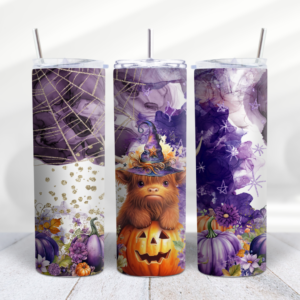
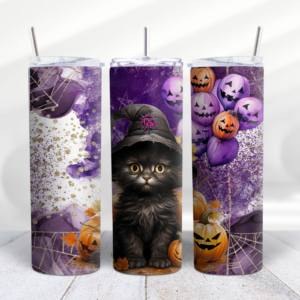
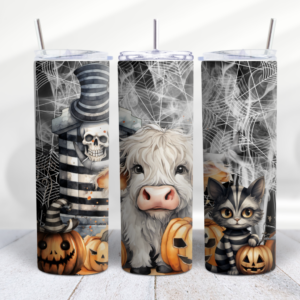
Sublimation tumblers are not just ordinary drinkware; they are a canvas for your creativity.
These cylindrical wonders are designed to be personalized with vibrant and long-lasting designs.
Sublimation is a process that allows you to transfer full-color images or artwork onto the surface of a tumbler, resulting in a durable and visually striking product.
Essential Materials
Tumblers
To embark on your sublimation journey, you’ll need a selection of tumblers. Stainless steel and aluminum tumblers are popular choices due to their durability and heat resistance. Make sure they have a polymer coating specifically designed for sublimation.
For the 20oz tumblers we like to use these tumblers.
For 40oz tumblers we like to use these tumblers.
Sublimation Printer
Sublimation Ink
Use sublimation ink designed for your printer model. This ink is specially formulated to turn into gas when heated, allowing it to penetrate the tumbler’s surface.
Heat Press Machine
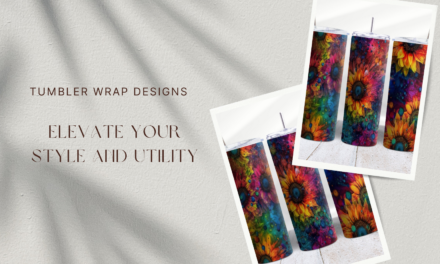
Choose a design software like Inkscape or CorelDRAW for creating your designs. Familiarize yourself with the software’s functions and tools. Or you can choose from some of our tumbler wrap designs.
Preparing Your Artwork
Before diving into sublimation, it’s essential to prepare your artwork correctly:
- Resolution Matters: Always work with high-resolution images (300 DPI or higher) to ensure sharp and vibrant results.
- Color Correction: Adjust the colors of your design to appear correctly after sublimation. Remember that sublimation can result in slightly muted tones.
- Mirror Your Design: Flip your design horizontally before printing. It will appear reversed on the tumbler but will be correct when viewed from the outside.
The Sublimation Process
Now, let’s delve into the step-by-step process of sublimating your tumblers:
1.Print Your Design
Load the sublimation paper with your design into the printer. Ensure the printer settings match the paper and design specifications. Remember to mirror the image.
2. Prepare the Tumbler
Clean the tumbler’s surface with rubbing alcohol to remove any oils or contaminants. Secure your design to the tumbler using heat-resistant tape.
3. Heat Press Transfer
Place the tumbler into the heat press, ensuring it’s centered and secure. Follow the manufacturer’s guidelines for time, temperature, and pressure settings. Typically, sublimation requires temperatures around 380-400°F (193-204°C) and pressure for 30-60 seconds.
4. Cooling and Removing
After sublimation, carefully remove the tumbler from the heat press using heat-resistant gloves. Allow it to cool down before handling to prevent burns. Peel off the sublimation paper and tape to reveal your vibrant design.
Troubleshooting Common Issues
1. Fading Colors
If your colors appear faded, ensure that you’re using the correct sublimation ink and that your heat press is at the recommended temperature.
2. Blurry Images
Blurry images may result from low-resolution artwork. Always start with high-quality designs to achieve crisp results.
3. Uneven Transfers
Inconsistent pressure or unevenly coated tumblers can lead to uneven transfers. Check your heat press settings and the quality of your tumblers.
Congratulations! You’re now equipped with the knowledge and skills needed to create stunning sublimation tumblers.
Remember that practice makes perfect, so don’t be discouraged if your initial attempts aren’t flawless.
Keep experimenting and refining your technique, and soon you’ll be producing sublimation tumblers that outshine the rest. Happy sublimating!

